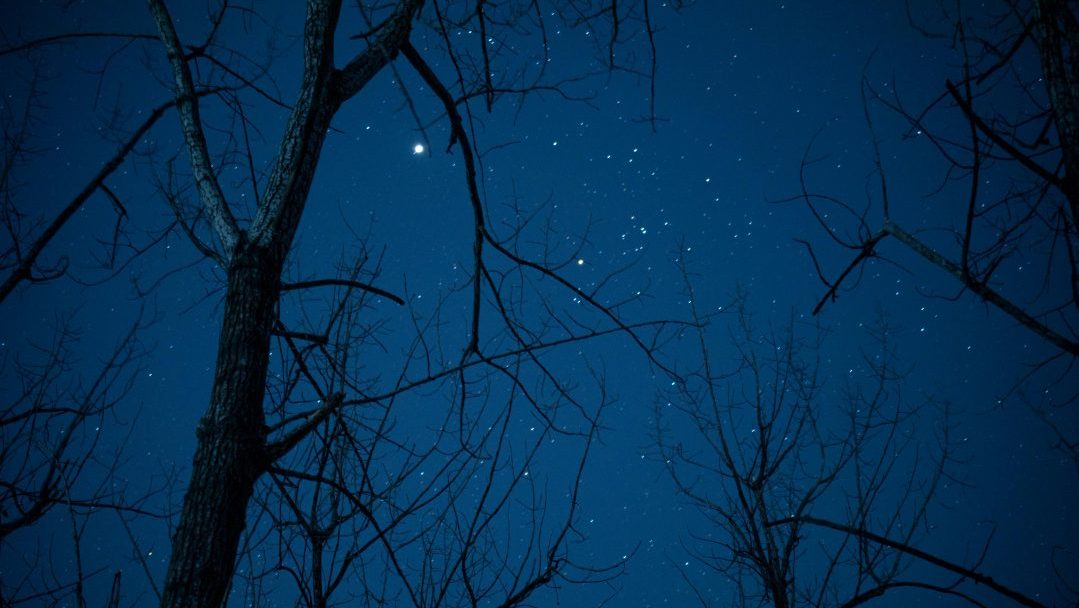
Photo by Yuting Gao
There’s something magical about looking up at the night sky and realising that you’re staring not just across space, but time also. But for many beginners, that wonder can quickly turn into overwhelm. Telescopes can be pricey, gear recommendations can be confusing, and it’s hard to know where to start without breaking the bank.
However, there is good news: you don’t need fancy equipment to start stargazing. In fact, some of the best celestial sights are completely free and visible to the naked eye.
Short on time? Here are the top notes:
1. Start stargazing with your naked eyes
2. Budget-friendly binoculars for beginners
3. Light pollution: What you need to know
4. Why most “beginner” telescopes are a waste of money
5. Free guide: Choosing your first telescope
6. My Top 3 budget-friendly accessories that are worth every penny
In this guide, I’ll walk you through how to start stargazing with little to no budget, the gear worth saving up for, and the must-have accessories that can dramatically improve your experience (without draining your wallet).
Let’s dive in.
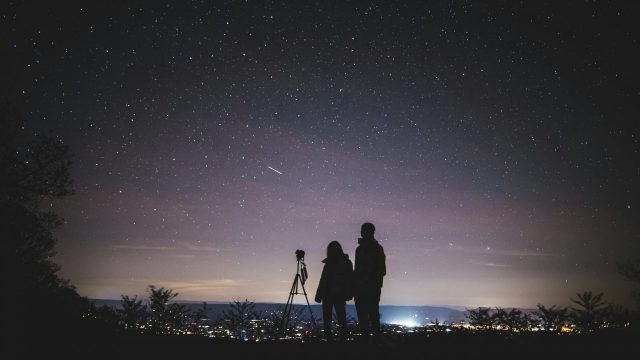
Start Stargazing with Your Naked Eye
I know I know, you are here for telescope or kit recommendations, and trust me, that will come. But first, I want you to know that you can see more than you think with just your naked eye. All it takes is a clear night and a little patience.
What You Can See:
- The Moon – Its craters and phases are stunning even without zoom.
- Planets – Jupiter, Venus, Saturn, and Mars are all visible to the naked eye (and Jupiter can even show up as a bright “star”).
- Constellations – Learn a few basics like Orion, Ursa Major, and Cassiopeia, these will help you when you come to star hop (finding your way across the sky by just the stars).
- Meteor Showers – Annual events like the Perseids are best viewed without any magnification.
Start here. Get familiar with the sky, use free stargazing apps like Stellarium to find your way around, and enjoy the simplicity of looking up.
One of My Favourite Naked Eye Experiences
I can vividly remember a recent night under the stars. It was a summer night and I was around the back of my house. By some miracle there were no mosquitoes or noisy neighbours to distract me. I laid down and just looked off into space.
Immediately I noticed that everywhere I looked there were stars, and as my eyes fully adjusted, I was shocked to see the sheer number of satellites overhead. It felt like every few seconds another one zipped across the sky.
It felt like a twilight masquerade, with satellites sweeping silently overhead like masked dancers under a velvet sky.
The reason I shared this story is that if I had my telescope, I’d have been too preoccupied looking at target stars to notice the small things.
Don’t be afraid to take your time and treat stargazing like a journey. You don’t need anything but your eyes to appreciate the stars the way your ancestors once did.
Want to skip ahead and grab a telescope with confidence? Download the free buying guide here.
Ready to Upgrade, But Can’t Afford a Telescope Yet? Try Binoculars
Binoculars are the secret weapon that many newbies to astronomy often overlook.
They are affordable, portable, and easy to use , they offer a huge step up from the naked eye without the complexity or cost of a telescope.
What You’ll Be Able to See
- The four Galilean moons of Jupiter
- Saturn’s oval shape (and maybe a hint of rings) if the night is clear enough
- Star clusters like the Pleiades or Beehive
- A surprisingly detailed Moon
Best of all? You can usually grab a solid pair for a great price.
Recommended Specs
Look into something like 7×50 or 10×50 binoculars, these strike a great balance between magnification and field of view.
Here are what are in my opinion, some good budget-friendly astronomy binoculars for beginners:
7×50 binoculars:
If you are in the U.S. check out these Celestron binoculars on Amazon priced around $40, and in the UK check out this pair priced around £28.
10×50 binoculars:
In the U.S. this pair by Celestron comes in at around $48 or if you are in the UK, check out these Celestron binoculars which cost around £48.
Many people report not seeing a great difference between the above two , but recommend a 10×50 as a safer all-round choice for most people in most situations. Either should allow you to see things such as Jupiter’s Galilean moons.
Tip: When looking at binoculars, the figures you see, such as 7×50, means that it has a exit pupil (eye hole) of 7mm, and an aperture (front lens) of 50mm.
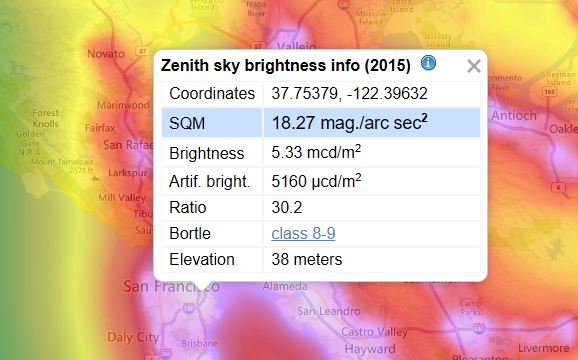
If your budget can stretch to it, the bigger aperture is better. But to get started on a budget, either of the above models will do. Be sure to check how bright your skies are before purchasing. Some sites, such as this one, let you see the Bortle rating of where you live (the lower the Bortle number, the better you will be able to see space).
A Quick Note On Light Pollution
The below image is a screenshot form the above light pollution map. The only part you need to look at is the ‘Bortle’ section towards the bottom.
This shows that in San Francisco, the Bortle rating is between 8-9, which is pretty much as bad as it gets. If you live in a similarly Bortle-rated location, I’d recommend you to look for a nearby dark site.
What can you expect to see through binoculars on a good day?
This picture was taken with an iPhone 13 through a pair of Celestron Cometron 15×70 binoculars:
Saturn through binoculars
byu/ohemah inastrophotography
In all honesty, if you are looking to buy 50-70mm binoculars, it might be better to consider a good 70mm telescope instead, you can pick some up for a great price.
Up next, telescopes.
Beginner Telescopes to Avoid (and What to Buy Instead)
The access, delivery speed, and simple ordering process makes it super tempting to hop onto Amazon and buy the cheapest scope you can find that has a decent star rating.
But more often than not, you will receive a cheap plastic toy, not a scope worthy of your ‘first scope’ title. If we look a little deeper than the plastic body and small poorly created lens, many of these telescopes come with flimsy shaky mounts.
If you’re serious about buying a GOOD budget telescope and want to get the best bang for your buck, consider saving up for a tabletop Dobsonian. They’re simple, powerful, and offer bright, clear views for the price.
Recommendation
A great tabletop telescope is the Sky-Watcher Heritage-130p, it’s light, compact, and capable.
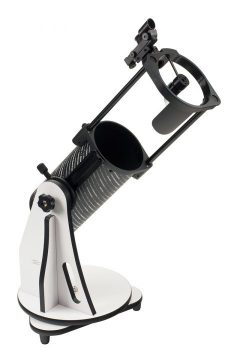
For those of you in the UK, you can find out more about the Heritage 130p on the FirstLightOptics website, and for those in the U.S., you can check it out on HighPointScientific.
(These are not affiliate links)
Here is what Saturn may look like through the Sky-Watcher Heritage-130p Heritage:
My progress over a few months with Saturn. Skywatcher heritage 130p.
byu/ParmanandDan intelescopes
For a tabletop telescope, I think this is incredible.
Bear in mind, this scope uses 1.25″ eyepieces and cannot accommodate 2″, unlike some larger scopes. As a result, you may need to buy extra lenses when upgrading to a bigger scope.
Disclaimer: I have not used this telescope myself, and I urge you to read reviews and get your hands on it in person before making a purchase if possible.
However, from what I can see, it is a great option.
Also, in the above image, the right side appears to have been stacked in post-processing (multiple images layered on top of each other), and is not a single static image.
Next I will Share With You the Only Three Accessories I Believe You Need When Starting Out.
But First…
If you feel ready to start out with a full-sized telescope, then I have a free PDF guide to help teach you how to feel confident doing so:
Free PDF: Choosing Your First (or Next) Telescope
Choosing your first telescope doesn’t have to be overwhelming.
Inside this free guide, you’ll discover how to:
- Buy with confidence by understanding which telescope fits your goals
- Save time, money, and stress by avoiding beginner mistakes
- See craters, moons, and nebulae clearly with the right eyepieces
- Choose a scope that fits your life—not just your budget
- Shop smarter using a printable checklist you can take with you
Tell us where to send it, and we’ll email you the full PDF now:
My Top 3 Budget-Friendly Accessories That Are Worth Every Penny
Once you’re ready to go a bit deeper into this hobby, these small accessories can make a huge difference, and they won’t break the bank.
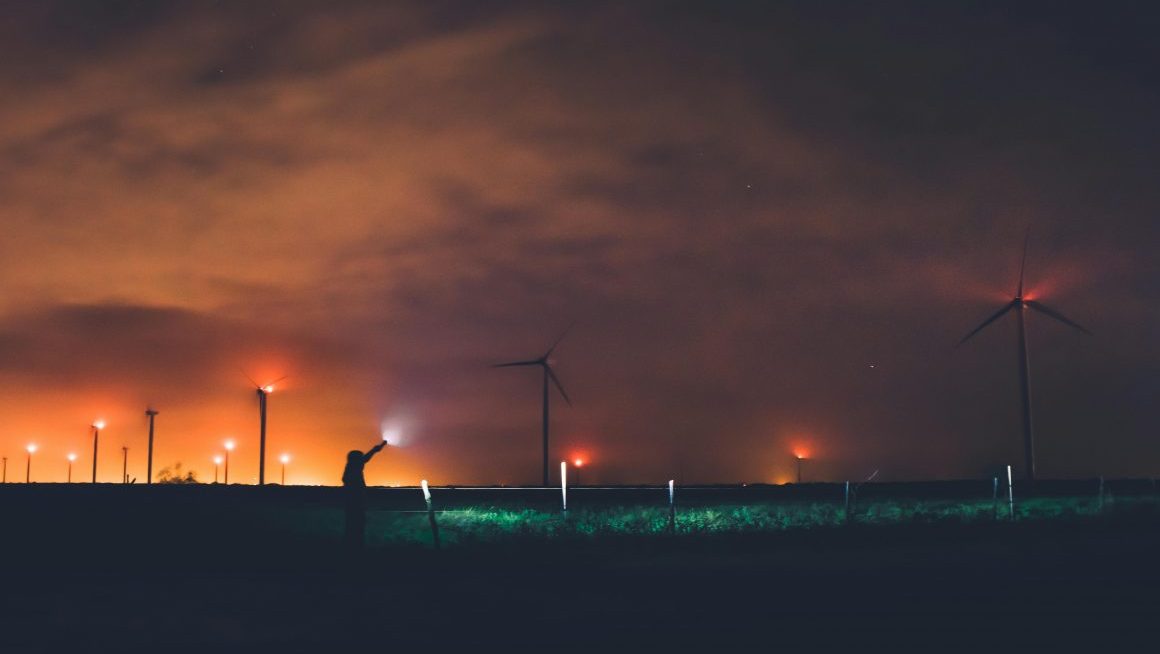
1. Red Light Torch or Headlamp
Regular white light kills your night vision. A red light helps you read star maps or notes without ruining your eyes’ adjustment to the dark, it also helps you avoid trips and falls.
My recommendations based on user rating:
In the UK:
This torch has the option to be used as a red light or white light, meaning you can get more value out of it. Grab one on Amazon around £20.
This head torch, also has white and red modes and is available for around £12 on Amazon.
In the U.S.:
This flashlight also has the option to be used as both a red and white light, making it multi-purpose and great value at around $13.
This rechargeable headlamp is under $14 and has both red and white modes.
2. Free Stargazing App
Apps like Stellarium turn your phone into a planetarium. Just point your device at the sky and it tells you what you’re seeing. There are many out there, but Stellarium is my current favourite.
→ Stellarium is available on Google Play, and on the App Store – download it here
3. Often Overlooked: A Warm Blanket or Camping Chair
Stargazing is better when you’re warm and comfy… or at least when you don’t have to do that little dance where you shift your weight from left foot to right foot to relieve the pain, all the while shivering as you do it.
A folding chair or blanket means you can relax and watch meteor showers or track planets without getting neck strain.
There is a good chance you already own these, but if not…
Here are my recommendations based on user rating:
In the UK:
You can get this foldable heavy-duty chair for around £60 (or a 2-pack for around £110) – both of which are rated to handle a max weight of 204 kg.
You could also get this 62in x 84in wool blanket for around £27.
In the U.S.:
You can get this foldable heavy-duty chair for around $70 (or a 2-pack for around $110) – both of which are rated at a generous max weight of 450 lbs.
You could also get this 64in x 88in wool blanket for around $40. It’s a great item to keep in your car when you’re not using it.
There are many other nice-to-haves I’d love to recommend, but as a beginner, these three (technically four) will make the world of difference.
– I’ll write a comprehensive post about my top choices for accessories in the future. Feel free to leave a comment to nudge me on this.
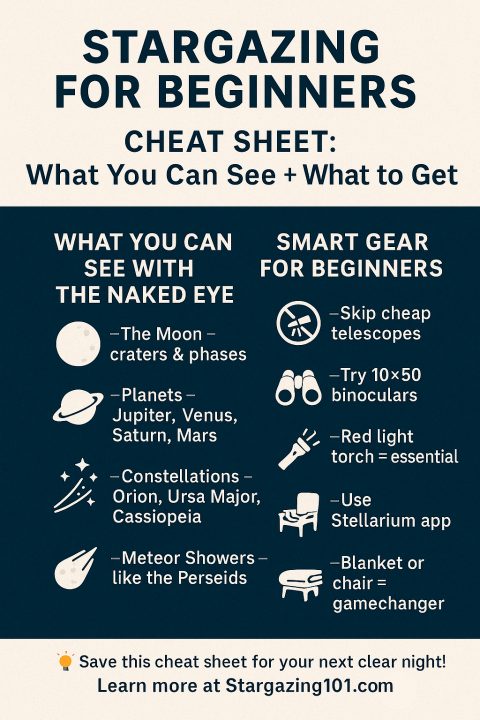
Was this guide helpful? Pin this quick-reference cheat sheet for your next stargazing night
📌 Love this cheat sheet? Pin it for later:

Tip #5
"Never look at the Sun through a telescope or binoculars without a certified solar filter."
-Tip #5